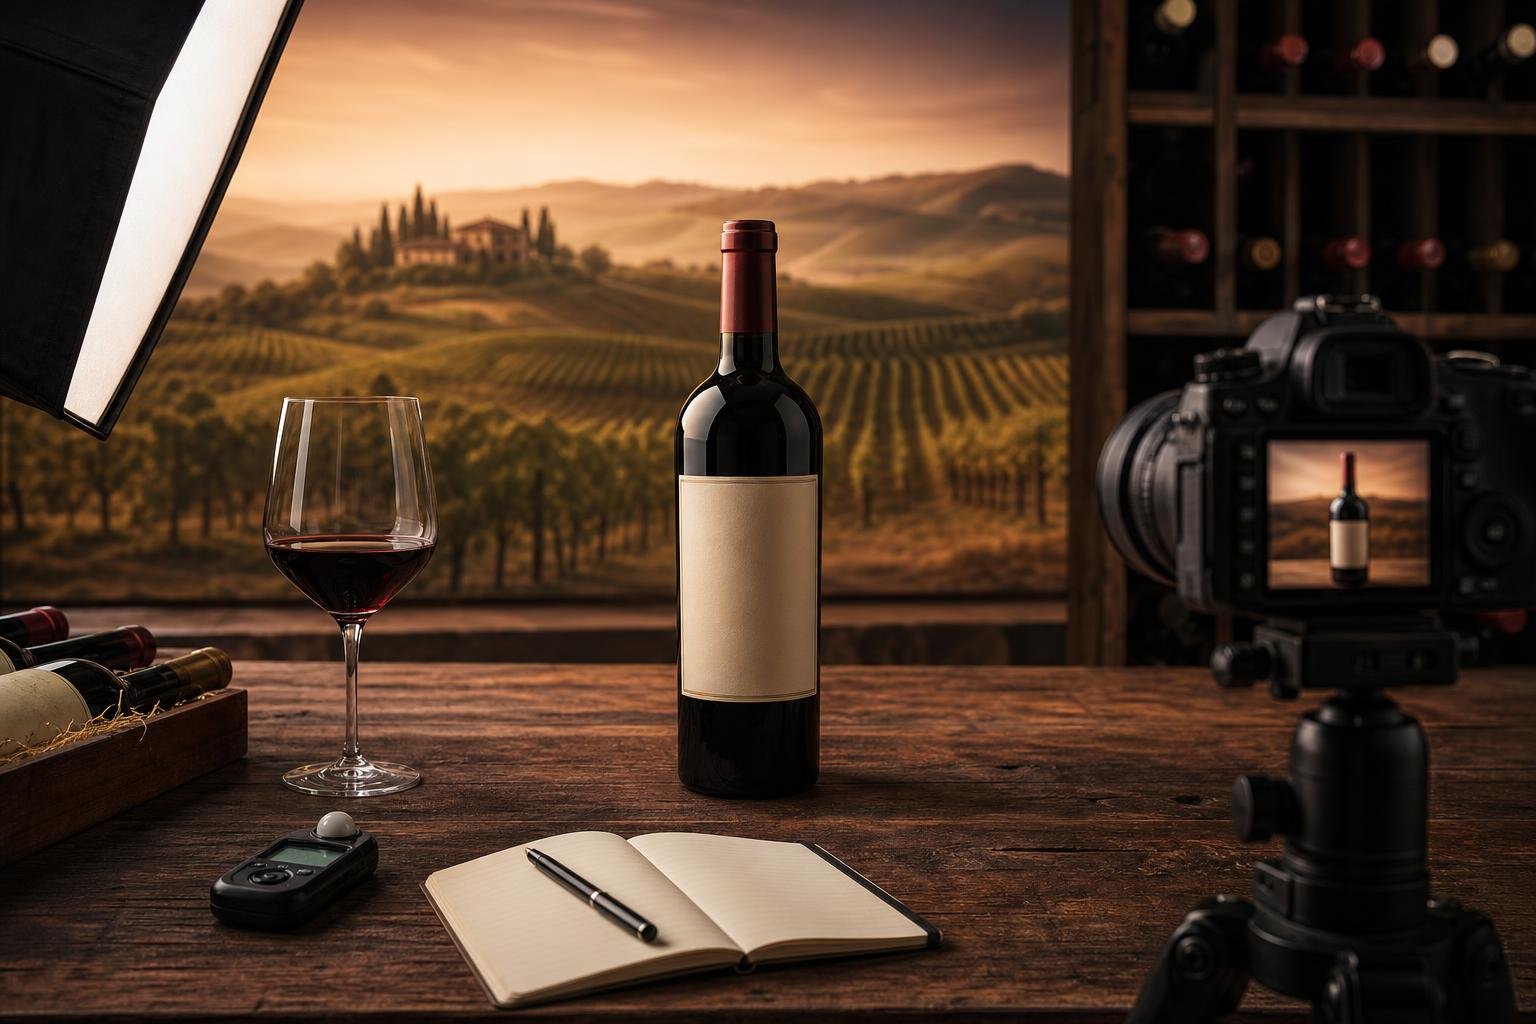
A strong wine-listing photograph must do more than make a bottle look attractive. It should help a prospective buyer assess the producer, cuvée, vintage, bottle size, fill level, closure, label condition and evidence of storage. Wine bottles are deceptively difficult subjects: curved glass creates long reflections, dark glass absorbs light, foil throws bright highlights and aged labels can lose texture under flat illumination. The objective is therefore not glamour alone, but clarity supported by restrained styling.
Prepare the bottle without erasing its history
Remove loose dust with a soft microfiber cloth and clean fingerprints from the glass. Avoid wetting an old paper label, rubbing fragile foil or attempting to improve stains and cellar marks. On collectible bottles, such details form part of the condition record. If the bottle has just come from a cool cellar, allow it to reach room temperature gradually so condensation does not obscure the glass or damage the label.
Confirm that the front label is square to the camera. Record the vintage, appellation, alcohol statement and bottle volume where they are visible. Capsules, corks, wax seals, importer strips and neck labels may also help establish identity or provenance, so photograph them rather than turning the bottle into an unnaturally pristine object.
A persuasive listing image is accurate first and beautiful second.Choose a simple, neutral background
Use a seamless white, pale grey or matte neutral background for the principal image. A sweep of paper or card that curves behind the bottle removes the distracting horizon line between table and wall. Dark backgrounds can be elegant, particularly with clear or pale glass, but they often conceal the outline of green or brown bottles. Patterned cloth, wine racks and decorative grapes may establish atmosphere, yet they compete with the label and are best reserved for secondary images.
Keep the bottle vertical and position the camera at roughly the midpoint of the label. Shooting from above makes the shoulders dominate; shooting from below exaggerates the base. A tripod, spirit level or camera grid helps keep vertical edges straight and makes a set of listings visually consistent.
Shape reflections instead of fighting them
Glass reflects whatever surrounds it. A small bare lamp produces harsh points of light, while a large diffused source creates a broader, smoother highlight that describes the bottle's curve. Place a softbox, diffusion panel or white sheet to one side at about 45 degrees, then adjust its angle until the label is evenly illuminated. Keep hot lamps well away from the wine; LEDs or flash are preferable because they add little sustained heat.
White foam boards can brighten the shadow side. Narrow black cards placed near the bottle create dark edge lines, defining clear glass against a pale background. Their position matters more than expensive equipment. If the camera appears as a reflection, move it farther away, use a longer focal length and shoot through a small opening between black cards.
A circular polarizing filter can reduce some glare, but it is not a universal cure. Reflections from curved glass occur at many angles, and metallic inks or foils may change appearance under polarization. Rotate the filter while watching the label, retaining enough highlight to show that the surface is glass rather than a flat cut-out.
Use settings that protect detail and color
A normal-to-short-telephoto perspective—approximately 50 to 85mm in full-frame terms—usually renders a bottle naturally and reduces background clutter. Avoid placing a wide-angle lens close to the subject, where it can enlarge the base or shoulders. On a tripod, start around ISO 100, select an aperture such as f/8 and lengthen the shutter speed as needed. Exact settings vary with sensor size, lens and lighting.
Focus on the main label, ideally on the producer name or vintage. Very deep bottles may require a smaller aperture, although excessive stopping down can soften fine print through diffraction. Shoot in RAW when possible, set white balance with a neutral grey card and check the histogram to avoid clipping pale labels or reflective foil. Accurate color is particularly important when cream paper, oxidation stains and capsule shades communicate condition.
Create a complete visual condition report
Lead with a straight-on full-bottle image, then add close views of the front label, back label, capsule, closure and base. Photograph tears, scuffs, seepage, corrosion, cracked wax and signs of a raised cork directly. For older wine, include a side-lit image of the fill level. Terms such as into neck, high shoulder and mid shoulder are commonly used for Bordeaux-shaped bottles, but a clear photograph is more useful than terminology alone.
Dark glass can make the wine level difficult to see. A small light placed behind the bottle may reveal it, provided the bottle is not heated and the final photograph remains truthful. Sediment is normal in many mature, unfiltered or minimally filtered wines; show it if relevant rather than presenting it as an undisclosed flaw.
Edit consistently and honestly
Crop, straighten, correct white balance and remove background dust, but do not retouch label damage, improve the fill level, replace a capsule or intensify the wine's color. Excessive sharpening can create halos around lettering, while aggressive noise reduction erases paper texture. Export a high-resolution master and a platform-sized copy in the requested color space, commonly sRGB for web display.
Finally, compare the images with the bottle under neutral light. The best online wine photography reduces uncertainty: the buyer can read the essential details, understand the bottle's condition and trust that the object delivered will match the one shown.